If you have a laptop or PC and you are confused about how to take a screenshot on a laptop or PC then this article is for you. In this article, I will discuss all the easy methods to take a screenshot on a laptop or a PC. You also don’t need to be worried about taking a screenshot on a MacBook or iMac, because I will also discuss how to take a screenshot on a MacBook or iMac.
It is very easy to take a screenshot on a smartphone, all you need to do is press the Power and Volume down buttons at the same time or some smartphones have a separate show option to take a screenshot. But taking a screenshot on a laptop is a little different from taking a screenshot on a mobile.
It might be your office work, payment proof, or online classes, you need to capture your screen many times. Thus in this situation, you must know how to take a screenshot. There are many ways to take a screenshot on a laptop, we will discuss all of them. Now let’s get started with the guide on how to take a screenshot on a laptop.
Related article:
How to take a screenshot on a Windows laptop and PC
There are several methods to take a screenshot on a Windows laptop and PC. Here are the step-by-step guides on all of them
Method 1: How to take a screenshot on a laptop using shortcut keys
Windows Key+PrtSc:
This method is the easiest method to take a screenshot, you just need to press the Windows Key and the PrtSc buttons simultaneously then your captured image will be saved automatically. You might also be asked to set a location or give a name to save your screenshots images.
Alt+PrtSc:
This method is a little different from the one mentioned above. You need to press the Alt and PrtSc together then it saves the Windows as a copy then you can paste it wherever you want. Note – This method does not save the screenshot automatically although you can save the copy by using Paint software.
Windows key+Shift+S:
This method of taking a screenshot on a laptop might be very useful for you because it can capture a specific part of the screen. You need to press the Windows, Shift, and S Keys together then you will be asked to drag the specific part of the screen that you want to capture after that it will be copied to the clipboard then you can save or paste it anywhere.
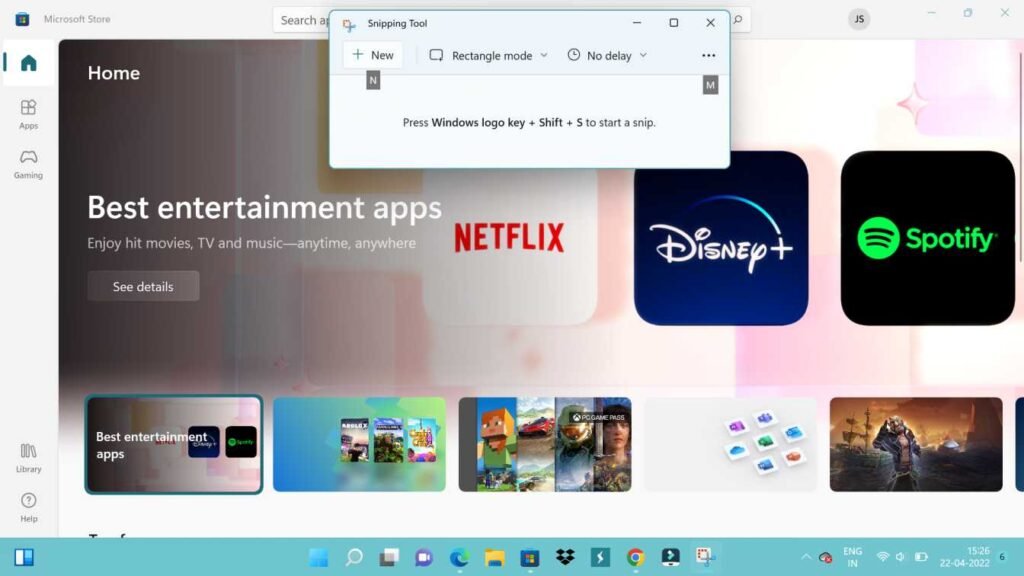
Method 2: Take a Screenshot on a Laptop using the Snipping tool

- Step 1: Search the snipping tool on the Windows search box and open it
- Step 2: Click on New to capture the screen
- Step 3: Now you need to move the cross air from which part you want to take a screenshot, after that you need to drag to select the particular area that you want to capture
- Step 4: Now the last step is to click the Save Snip icon to save your screenshot
Method 3: Capturing the Screenshot on a Laptop using Windows Key+G
If you are a gamer then this method might be very useful for you to record games and captures the screenshot of your gameplay although you can also capture the windows if you are not in the game.
You need to press the Windows Key and G together then tap on Capture after this you can take a screenshot and also make screen recording videos of your screen.
Also Check: How to Find Laptop Model?
How to take Screenshots on MacBooks
These are some short keys to taking a screenshot on a Macbook
- Press Command+Shift+3
- Command+Shift+4
- Command+Shift+5
- Command+Shift+6
You can also visit Apple’s useful detailed guide


